Design & Styling
Unlacquered Brass Cabinet Hardware: How I Duped a Designer Look for 75% Less
Quick Answer
I recreated a luxury kitchen cabinet hardware look for about 75% less by ordering unlacquered brass knobs and pairing them with separate backplates from MyKnobs, instead of buying the pricey designer set. Unlacquered brass is a "living finish" that patinas over time, giving off-white cabinets warm, old-world character with modern function.
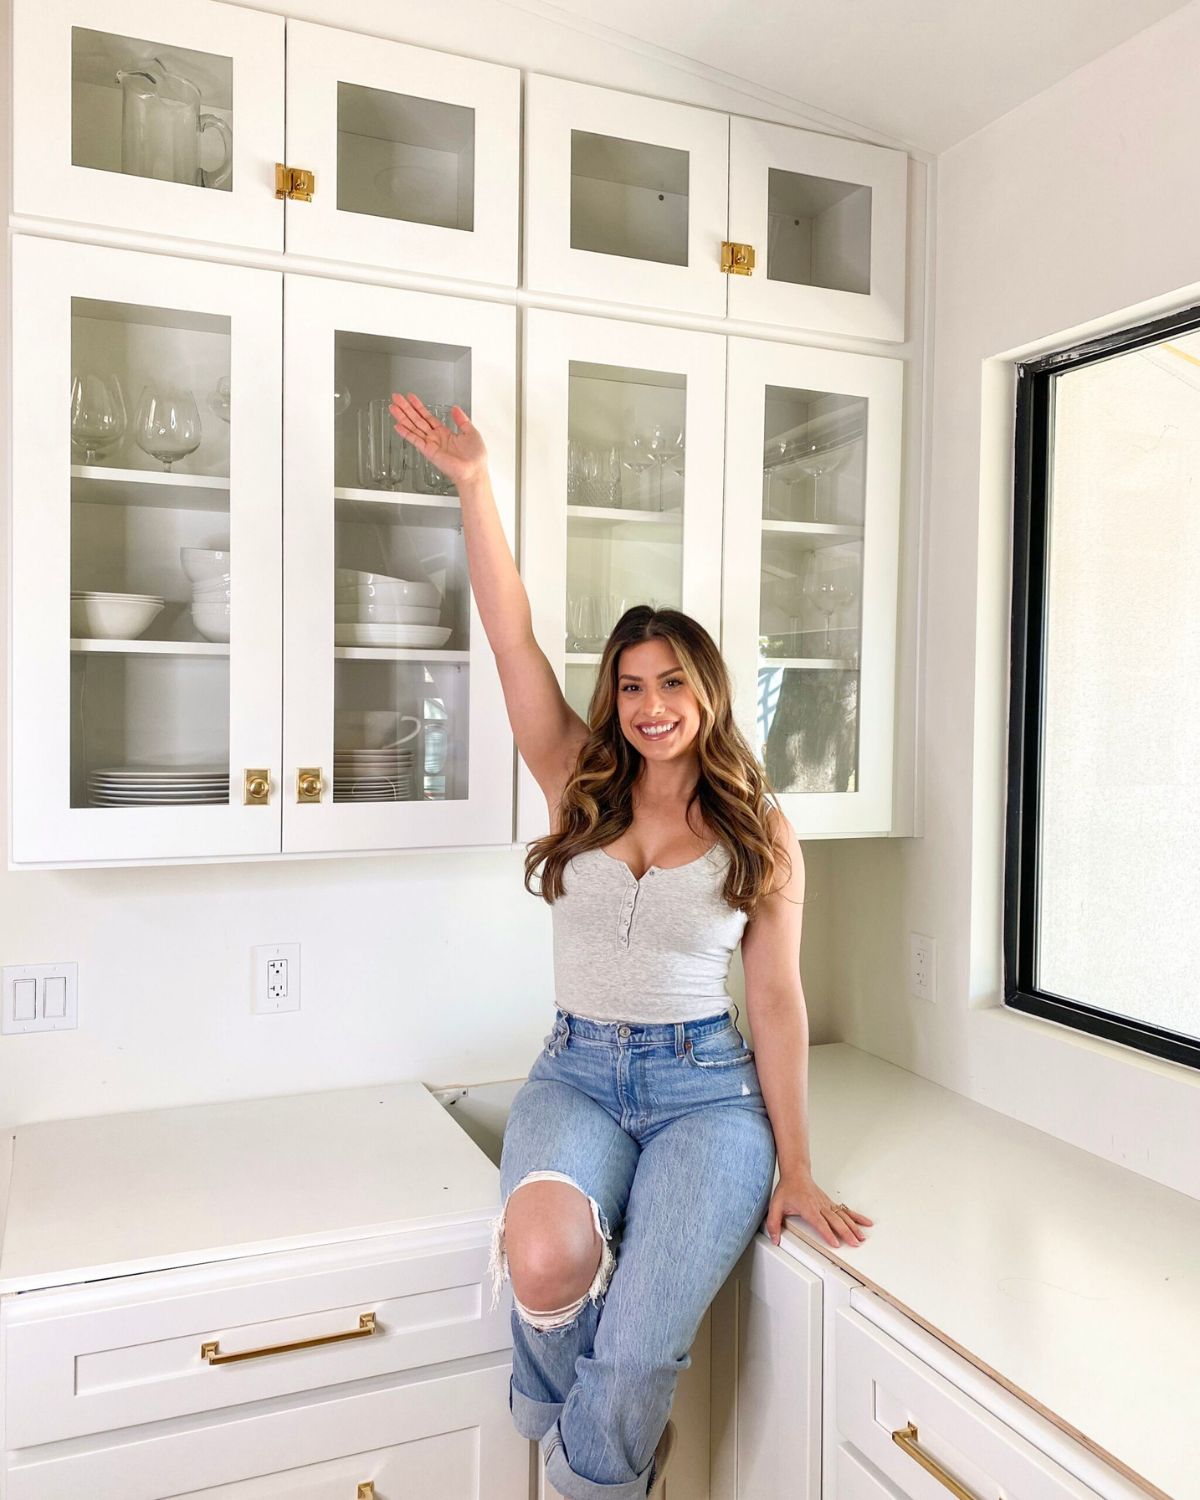
After what felt like weeks of waiting, our kitchen cabinet hardware and glass panel doors finally went in — and I may have stood in the middle of the kitchen just staring at it for a while. There is something about the small, finishing details that suddenly make a whole renovation feel real.
Here is my confession: I fell hard for a set of cabinet hardware from a luxury brand. (I always do that.) It was beautiful. It was also painfully out of budget. So instead of talking myself into a number I knew I would regret, I did what I always end up doing — I figured out how to get the look for a fraction of the price. If you are weighing where to spend and where to save in a kitchen, my approach to setting a renovation budget is the same instinct that drove this whole project.
This is exactly how I duped that designer cabinet hardware for about 75% less: the unlacquered brass finish I chose and why I would choose it again, the trick that made it affordable, and every single source so you can recreate it in your own kitchen.
What Is Unlacquered Brass Cabinet Hardware?
Unlacquered brass is solid brass with no clear coating or lacquer sealed over the surface. That bare, untreated finish is what makes it a "living finish" — it quietly reacts to air, oils from your hands, and time, slowly developing a patina that deepens and warms the metal. Sealed or polished brass, by contrast, is coated to stay bright and uniform forever; it never ages.
I chose unlacquered brass on purpose. As it patinas, it takes on a uniquely aged, antique character — exactly the old-world charm I wanted, paired with the modern function of a hardworking kitchen. That tension between old and new is one of my favorite things to play with, and it is the heart of mixing interior design styles in a way that still feels collected rather than chaotic. Against our off-white cabinets, the warm brass adds the kind of depth and softness that a cooler, shinier finish simply cannot.
What Cabinet Hardware Did I Use?
I ordered a combination of knobs, pulls, and latches to suit the different door and drawer styles in the kitchen, all in unlacquered brass so everything reads as one cohesive finish. Here is every piece, with the exact sources:
- Knobs — 1 1/4″ Knob in Unlacquered Brass
- Square Backplates — 1 1/4″ Square Backplate in Unlacquered Brass
- Rectangle Backplates — 1 1/2″ Rectangle Knob Backplate in Unlacquered Brass
- Drawer Pulls — Millenium in Unlacquered Brass (I ordered 6″ for small drawers and 8″ for large drawers)
- Latches — Oval Cupboard Latch in Unlacquered Brass
The pulls came from MyKnobs, which is where most of this dupe lives, and the cupboard latch is from Rejuvenation. A quick note on the latches: those little oval cupboard latches are the detail people always ask about — they do real work on the glass-front uppers and add that vintage, hutch-like charm.
How to Dupe Designer Cabinet Hardware, Step by Step
The whole reason this worked is that a designer hardware "look" is really just a few separate elements combined a certain way. Once you can see the parts, you can recreate them for far less. Here is the exact process I used.
Step 1: Save the designer set you fell in love with
Start with the hardware that made you swoon — the expensive set you keep going back to. Screenshot it, note the brand, and look closely at what specifically you love: the knob shape, the backplate, the finish, the proportions. You are not going to buy it; you are going to reverse-engineer it.
Step 2: Break the look down into its parts
Almost every high-end knob look is a knob plus a backplate plus a finish. Designer sets sell those as one pricey, pre-paired piece. But individually? A simple knob and a separate backplate are dramatically cheaper — and stacked together, they read as the same custom, layered look.
Step 3: Recreate the look by pairing a plain knob with a separate backplate
This is the trick that saved me about 75%. Instead of buying the designer knob-and-plate as a set, I ordered a simple unlacquered brass knob and added a separate square or rectangle backplate behind it. Two affordable pieces, combined, gave me the elevated look I originally fell for. Mix the backplate shape to suit each cabinet — square plates on some doors, rectangles on others — for that collected, not-from-a-kit feeling.
Step 4: Choose unlacquered brass for that living, aging finish
Finish is what ties a mismatched-on-purpose set together. I chose unlacquered brass across every piece so the knobs, pulls, and latches would all patina in the same warm direction over time. If you want the look to stay bright and uniform instead, choose a lacquered or satin brass — just keep the finish consistent across all your pieces.
Step 5: Measure your cabinets and drawers before you order
Pulls are where sizing matters most. I ordered the Millenium pulls in 6″ for the smaller drawers and 8″ for the larger ones so the proportions felt right rather than uniform. Measure your drawer fronts first, and check the screw-hole centers on pulls (the "centers" measurement) so everything lines up on install day.
Step 6: Install, then let the brass patina
Once everything is on, resist the urge to polish it. The patina is the point. Over the coming months the pieces you touch most — the pulls by the sink, the knobs you open a hundred times a day — will age first, and the finish will develop genuine character. That slow change is what makes unlacquered brass feel like it has always been there.

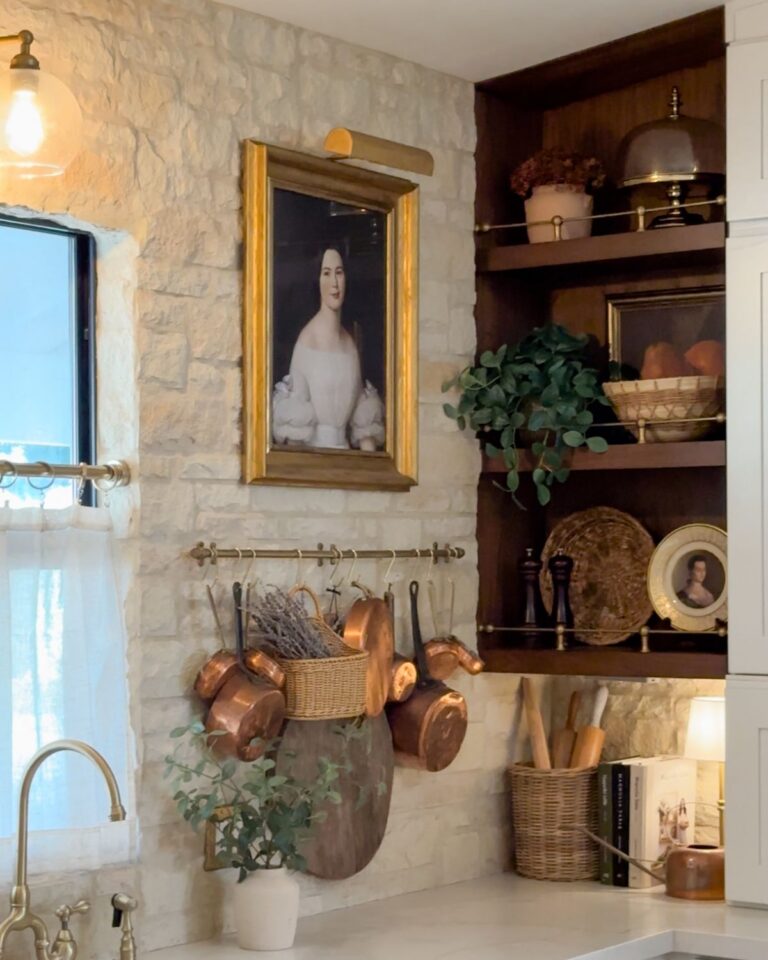
What Does Unlacquered Brass Look Like on Off-White Cabinets?
In a word: warm. The brass against the off-white cabinetry is exactly the contrast I was hoping for — it keeps the kitchen from feeling flat or sterile and gives your eye something to land on. On the glass-front uppers especially, the knobs and little oval latches do a lot of quiet work, echoing the same old-world feeling I leaned into with our wood panel kitchen shelves.
We still have a ways to go before this kitchen is fully finished, but the hardware was a huge step in the right direction. It is amazing how much character the smallest pieces can carry.
How Much Does the Designer Dupe Save?
The savings come almost entirely from Step 3 — pairing a plain knob with a separate backplate instead of buying the designer set. To put real numbers on it: the inspiration knobs I loved ran about $75 and $58 each. My duped versions came in around $24 and $21 for the same layered look.
Across an entire kitchen of knobs, pulls, backplates, and latches, that difference adds up fast. All told, I saved roughly 75% compared to the luxury-brand version — for a finish I genuinely love more, because it will age right along with the house.
Shop the Look
Find the unlacquered brass hardware and the rest of my renovation favorites gathered in one place.
Unlacquered Brass Cabinet Hardware FAQ
Does unlacquered brass tarnish?
Yes, and that is by design. Unlacquered brass is a living finish, so it oxidizes and develops a patina over time. It will not stay bright and shiny like sealed brass; instead it deepens into a warmer, more antique tone. If you want it to stay polished, you would need to clean it regularly or seal it — but most people who choose unlacquered brass are after exactly that aged look.
What is the difference between lacquered and unlacquered brass?
Lacquered brass has a clear protective coating that keeps it shiny and prevents patina, so it stays looking new with very little upkeep. Unlacquered brass is left bare, so it ages and patinas naturally. Lacquered is lower-maintenance and uniform; unlacquered gives you that evolving, old-world character that changes with the home.
Can you mix knob and backplate brands?
Yes, and that is the whole trick behind this dupe. I paired simple unlacquered brass knobs with separate backplates to recreate a designer look for far less. As long as both pieces are the same unlacquered brass finish and the backplate fits the knob's footprint, mixing sources works beautifully.
How do you clean unlacquered brass hardware?
For everyday care, just wipe it with a soft, dry or slightly damp cloth. If you want to slow the patina or brighten a spot, mild soap and water works, and a dedicated brass cleaner will bring back shine. Keep in mind that cleaning removes some of the patina you may be growing on purpose, so go gently if you love the aged look.
Where can you buy affordable unlacquered brass cabinet hardware?
I sourced most of mine from MyKnobs, which carries unlacquered brass knobs, backplates, and pulls at a fraction of luxury-brand prices, plus a cupboard latch from Rejuvenation. The real key to getting the high-end look affordably is pairing a plain knob with a separate backplate instead of buying a pre-made designer set.
Will unlacquered brass patina evenly?
Not perfectly, and that is part of the charm. The pieces you handle most, like the drawer pulls near the sink, will age faster than ones you rarely touch, so the finish develops character unevenly over time. If even aging matters to you, you can encourage the rest along by handling them more or using a patina solution.
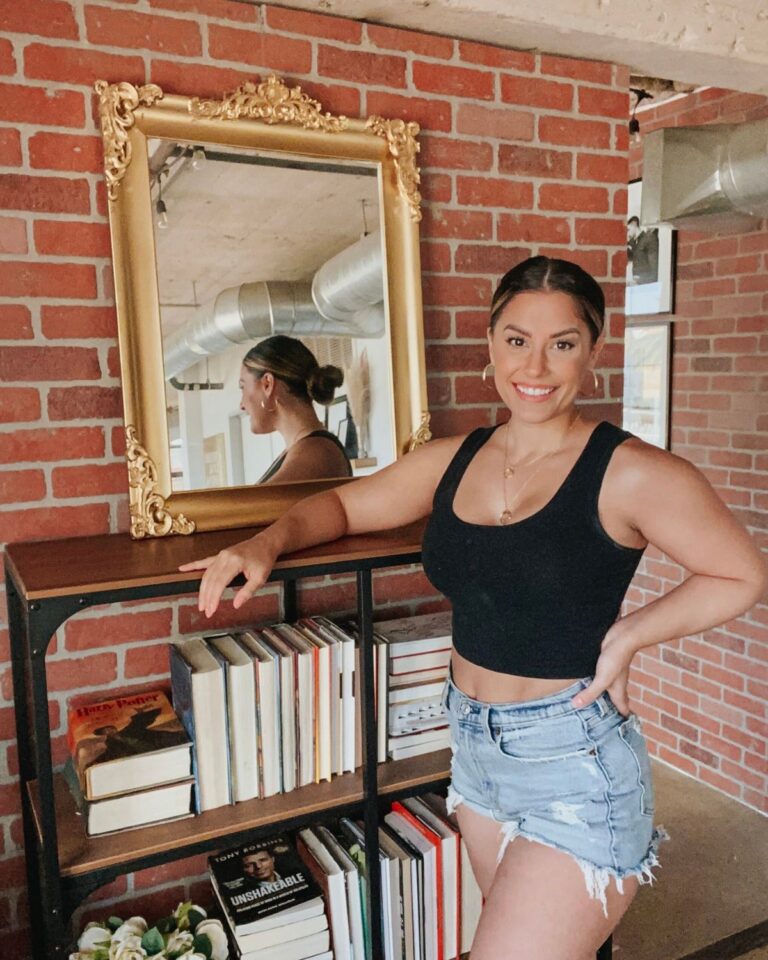
DIY Anthropologie Mirror Dupe (Under $50!)
If you love the Anthropologie Gleaming Primrose mirror but you don’t love the price tag, try this super easy DIY for just under $50! (Video Tutorial Included!)
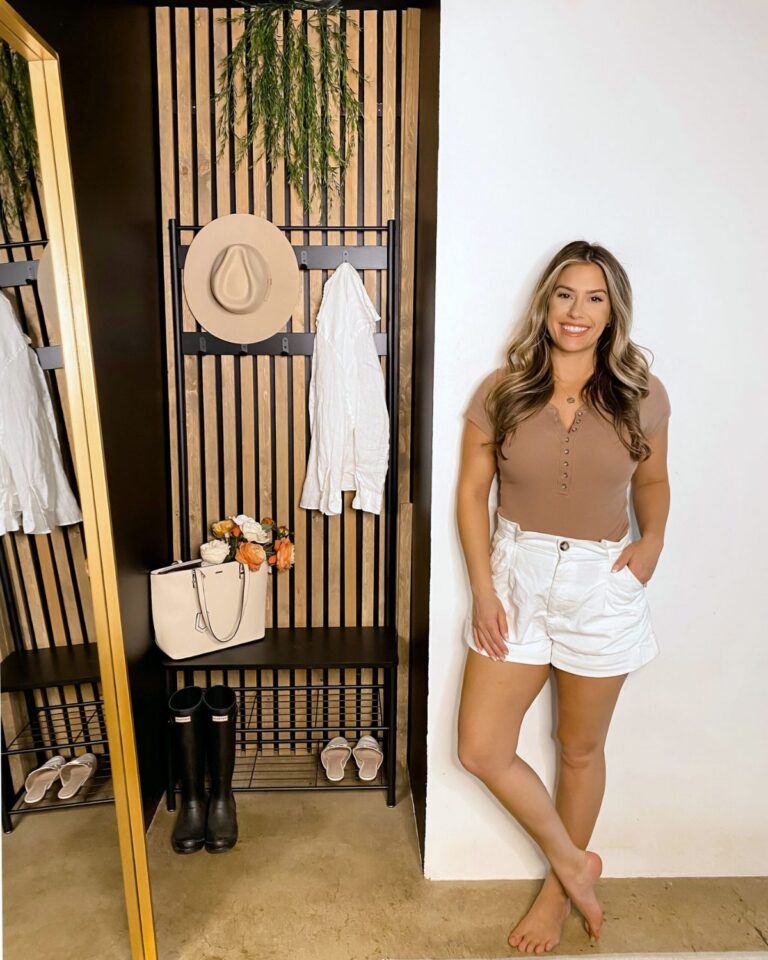
Vertical Wood Slat Wall DIY (Step-By-Step Tutorial)
This vertical slat wall DIY project is surprisingly easy, can be completed in just a few hours, and only requires a short list of materials! Follow to step-by-step tutorial here.
DIY wood-panel kitchen shelves with a brass gallery railDIY Wood Panel Kitchen Shelves
If you’re looking for a fun twist on the traditional floating shelves in your kitchen, consider adding a brass gallery rail and some wood panels!