DIY & Crafts
DIY wood-panel kitchen shelves with a brass gallery rail

Quick Answer
Adding a brass gallery rail and walnut wood panels to floating shelves turns basic open shelving into a custom, built-in look for a fraction of the cost of millwork. Start with pre-made floating shelves, back them with stained walnut panels, then install a brass gallery rail across each tier — an afternoon project with basic tools.
If you're looking for a fun twist on the traditional floating shelves in your kitchen, add a brass gallery rail and some wood panels. This was one of those projects that looked custom and expensive once it was finished, but it actually came together in an afternoon with a short list of materials and a few tools we already owned.
We did this in our own kitchen, where I'd already leaned into warm walnut and unlacquered brass — the same instinct behind our unlacquered brass cabinet hardware and the other little kitchen design details that make the room feel collected instead of builder-grade. The wood-panel backing is the part that takes plain open shelves from "fine" to "built-in," and the brass gallery rail is the detail everyone asks about.
Below is exactly how we did it, start to finish: the materials and tools, the three main steps (panels, shelves, then the rail), where to actually buy a brass gallery rail, and answers to the questions I get most. It's beginner-friendly, and you can absolutely do it with store-bought floating shelves.
What is a brass gallery rail?
A brass gallery rail is a thin metal rod that runs along the front (and sometimes the sides) of an open shelf, held up by small posts at each end and across the span. It's also called a tipping rail, because the original job is functional — it keeps plates, books, and dishes from sliding off the front edge. These days it's mostly loved for the look: that warm, vintage, hutch-like detail you see in designer kitchens.
Pairing the rail with a wood-panel backing is what makes this version feel built-in rather than just shelves on a wall. We used real walnut panels to wrap the back and sides of the shelf nook, so the open shelving reads like a custom piece of millwork instead of an afterthought.

What materials and tools do you need?
This is a short-list project. The two things that really set the look (and the budget) are the wood you choose for the panels and the brass gallery rail hardware — more on sourcing the rail below. Here's everything we used.
Materials
- Pre-made floating shelves (we used walnut to match the panels)
- Walnut plywood sheets for the panel backing
- A brass gallery rail kit (rod plus end and center posts)
- Dark walnut wood stain
- Clear satin polyurethane
- Dark brown caulk, for finishing edges and seams
Tools
- Circular (skill) saw to cut the panels
- Tape measure and a pencil
- Drill
- Brad nailer
- Fine-grit sandpaper
- A clean, dry rag for staining
- A hacksaw or rotary tool with a metal blade, to cut the brass rail to length
Shop Our Kitchen
The brass, baskets, and warm-wood pieces we use throughout our home.
How do you make wood-panel shelves with a brass gallery rail?
There are three parts: prep and install the wood panels, hang the floating shelves, then add the gallery rail. We tackled them in that order so the panels were already in place behind the shelves.
Step 1: Cut, stain, and hang the wood panels
A quick but important note on wood: I used real walnut panels for this project to match the walnut shelves. The dark walnut stain only made the natural tones richer and brought the panels closer to the shelf color. Using dark walnut stain on a different wood species can look very different — if you want a true walnut color, it's worth spending a little more on real walnut panels. Otherwise, test your stain on a scrap of the exact wood you're using until you hit the color you want.
- Cut your wood panels to size with a circular saw. Wipe them down with a dry cloth to remove dust and debris. Tip: a fresh, fine blade and a strip of painter's tape along the cut line keep the panels from splintering.
- Apply the dark walnut stain to the front and sides with a rag until fully covered, wiping off any excess. Let it dry completely.
- Lightly sand the surface with fine-grit sandpaper until smooth. Add a second coat of stain here if you want it darker (I did just one).
- Brush on one coat of clear polyurethane and let it dry. Lightly sand, wipe away the debris, and apply a final coat. Let it dry completely.
- Attach the panels to the wall and cabinets with a brad nailer, then fill any gaps or edges with dark brown caulk for a seamless, built-in finish.
Step 2: Install the floating shelves
Once the panels are secured, install your shelves using the instructions they came with. We spaced ours 15 inches apart, but the right spacing depends on your own kitchen and what you plan to display — taller items need a little more room. If you're working with store-bought floating shelves like we did, just make sure the bracket hits your studs so the shelf can carry real weight.
Step 3: Attach the brass gallery rail
Installing a gallery rail is a simple way to elevate the look of your shelves, and it's the step that pulls the whole project together. Installation varies a bit depending on the rail you buy, but here's how we did ours.
- Using a tape measure, mark where each post will go. We used two center posts, set each one about two-thirds of the way across the shelf, with the center point roughly 1 inch back from the front edge.
- Drill a small pilot hole at each mark, then screw in the attachment piece that comes with each post and screw in the posts. A bit of painter's tape over the drill spots helps prevent splintering.
- Cut your brass rail to size and feed it through the holes in the posts. Solid brass takes some muscle — a hacksaw or a metal blade on a rotary tool will get you there.
- If you're using a wall-mount end post, feed the rail through it before screwing it into the wall.
- Screw the wall-mount posts into the wall to lock everything in place.
Where can you buy a brass gallery rail?
This is the question I get more than any other, and it's worth answering honestly: you usually won't find a true brass gallery rail at a big-box home improvement store. The rod, posts, and end fittings tend to come from specialty and vintage hardware sources. A few places to look: vintage and antique hardware shops, lamp-parts suppliers (the rods and finials double as gallery-rail hardware), and Etsy, where a number of small makers sell ready-to-install kits. If you'd rather not piece it together, search for a complete "brass gallery rail kit" so the rod and posts arrive sized to match.
You can find more of our kitchen and homemaking sources in the shop section below.
How do you style open shelves with a gallery rail?
Keep it simple and let the wood and brass do the work. I lean on a mix of heights and textures — a stack of warm-toned cookbooks, a small piece of pottery, a wood cutting board leaned at the back, and one trailing plant or a few stems. The rail naturally frames whatever you set in front of it, so you don't need much.

It also makes seasonal swaps easy — the rail gives you a built-in ledge to lean and layer against, so a whole vignette comes together fast. At the holidays I fill ours with gingerbread houses, copper mugs, and a string of twinkle lights. If you love a warm-wood moment elsewhere in the house, our wood slat wall DIY is in the same family.

How much does it cost?
Your total comes down to two choices: the wood and the rail hardware. Real walnut panels cost more than paint-grade plywood but give you that true walnut color with no guesswork; a cheaper wood plus the right stain can get you close for less. On the hardware side, a finished brass gallery rail kit costs more than assembling one from lamp or hardware parts, but it saves you the sourcing puzzle.
Either way, the whole project lands at a small fraction of what custom built-in millwork would run — which is the entire point. You're buying the designer look with an afternoon of work instead of a contractor's invoice.
Wood-panel shelves with a brass gallery rail: FAQ
How much does it cost to add a brass gallery rail to shelves?
It depends mostly on your hardware. A finished brass gallery rail kit costs more than assembling one from lamp or hardware parts, but both come in well under the price of custom built-in shelving. The wood you choose for the panels is the other big variable — real walnut costs more than a budget wood you stain to match.
How long does this project take?
The hands-on work is about an afternoon, but you'll want to spread it across a day or two so the stain and polyurethane have time to dry fully between coats. The shelves and rail go up quickly once the panels are finished.
Where can you buy a brass gallery rail?
Big-box stores usually don't carry them. Look to vintage and antique hardware shops, lamp-parts suppliers, and Etsy makers who sell complete kits. Searching "brass gallery rail kit" is the fastest way to get the rod and posts sized to match.
Do you have to drill into your shelves to attach the rail?
Most rails install with posts that screw into small pilot holes, so yes, you'll typically drill into the shelf or wall. Painter's tape over your drill marks helps prevent splintering. Some people set the posts on the shelf surface instead of drilling all the way through if they want it removable down the road.
What kind of wood is best for the panels?
We used real walnut so the panels matched our walnut shelves with no guesswork. If you want a true walnut tone, that's the simplest path. A more budget-friendly wood can get close, but test your stain on a scrap of that exact species first — the same stain reads very differently on different woods.
Can you do this with store-bought floating shelves?
Yes — that's exactly what we did. Pre-made floating shelves keep the project beginner-friendly. Just make sure the brackets hit your studs so the shelves can hold real weight, and add the wood-panel backing behind them for the built-in look.

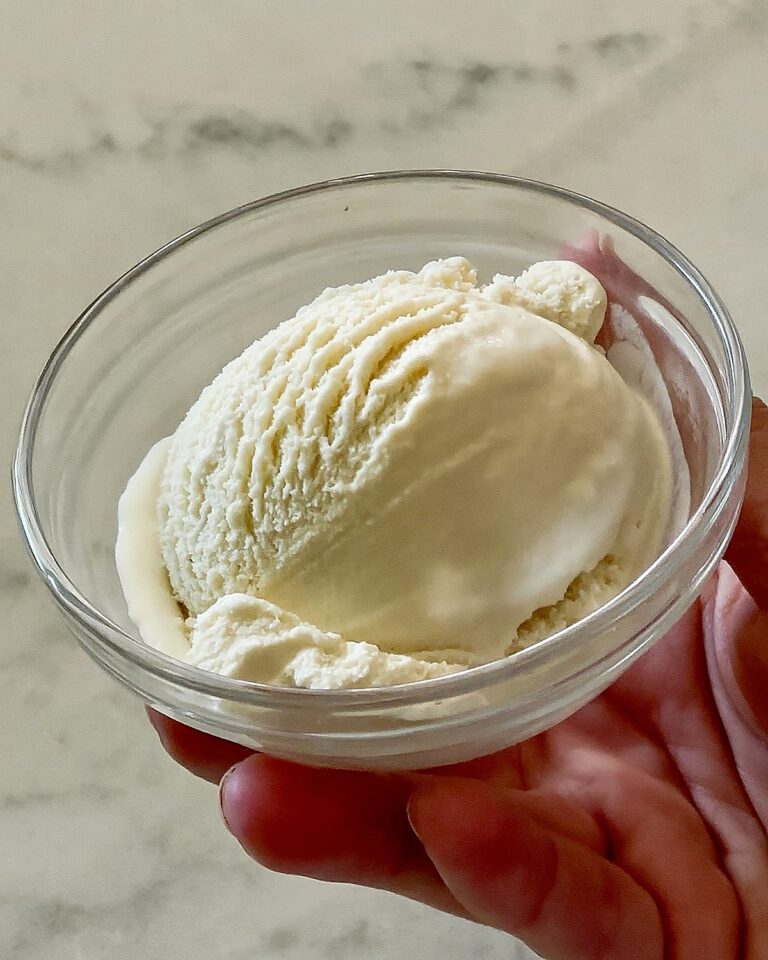
How to Make Homemade Ice Cream
Make homemade ice cream with clean, simple ingredients and no refined sugar. The creamy custard science, every ice cream maker method, mix-ins, and easy swaps.
5 Interior Design Tips For Beginners
If you’ve ever struggled with how to decorate your home, here are 5 simple and approachable interior design tips for beginners.