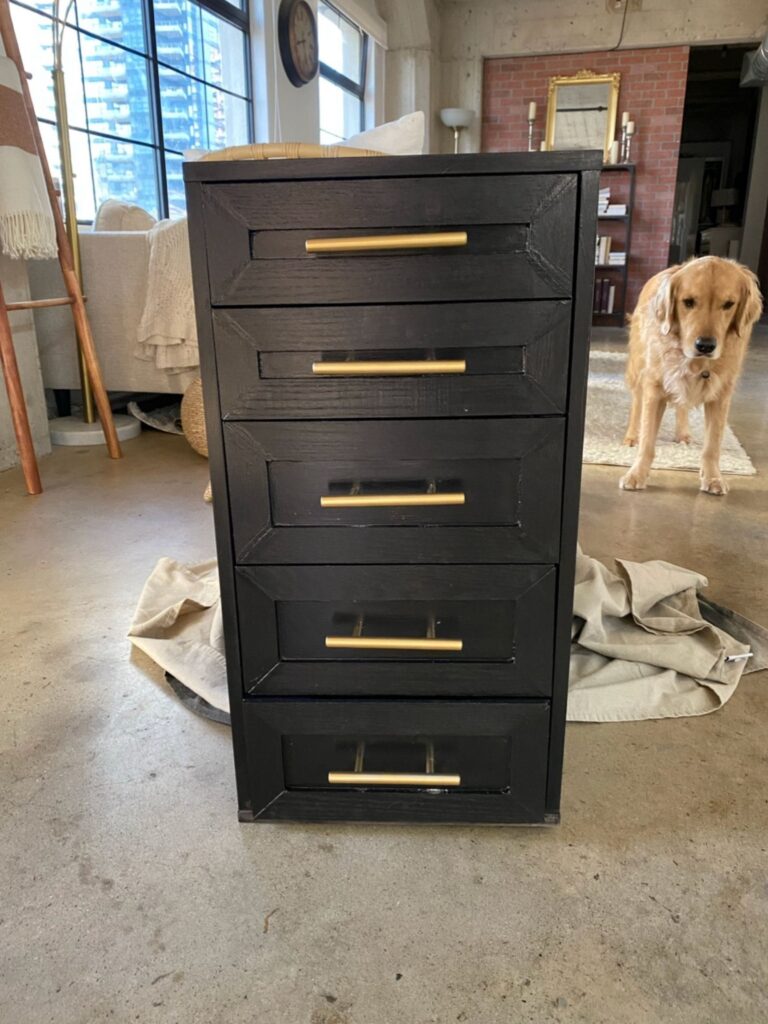

One of the biggest things that draws people to IKEA is it’s low prices—and when you’re on a budget, getting the best deal is usually top priority. Unfortunately, finding beautiful furniture that has attention to detail does’t typically fall within the “budget-friendly” category. This isn’t to say that IKEA doesn’t have beautiful furniture, because they do! In fact, I have many pieces of beautiful IKEA furniture in my home and I love them! But if you’re like me and would appreciate a little more detail on a simple and affordable piece of furniture, like the IKEA Alex Drawers, you’ve come to the right place! In this blog, I’ll be sharing a step-by-step tutorial on an IKEA Alex Drawers DIY to give it a chic, modern look.
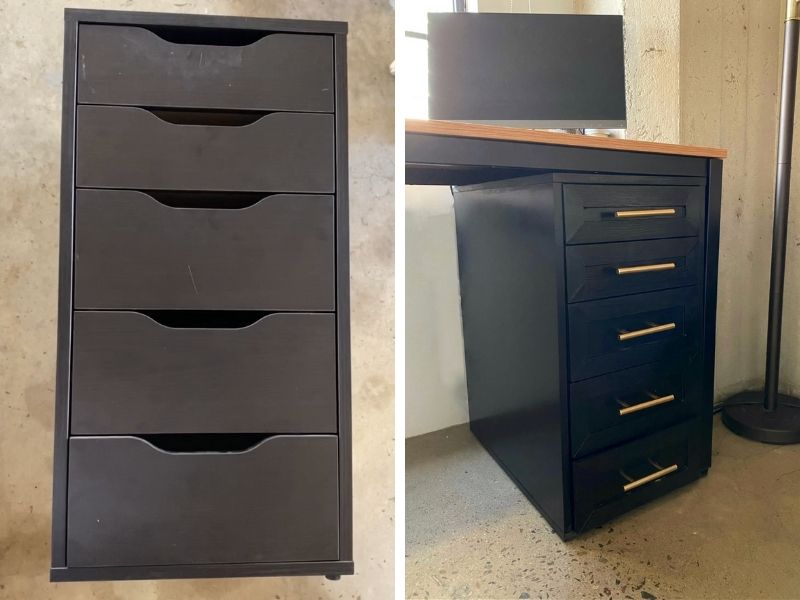
Materials: IKEA Alex Drawers DIY
If you already have the IKEA Alex Drawers, great! You’re only a day or two away from it having a whole new look! You’ll be able to keep this project under $30 if you have a few basic tools and hardware already. But, here’s a full list of everything you’ll need for this project.
- IKEA Alex Drawers
- 1/4″ wood hobby boards
- Miter box and saw (or a table saw)
- Wood glue
- Metal clamps
- High-grit sandpaper (80 grit)
- Fine-grit sandpaper (220 grit)
- Optional, orbital sander
- Desired hardware
- Desired paint/primer (I recommend using a satin finish)
- Caulk
- Wood filler
- Power drill
Step-By-Step Tutorial:
Here is how to complete the IKEA Alex Drawers DIY step-by-step. Be sure to check out the video for references.
Step 1: Cut Hobby Boards To Size
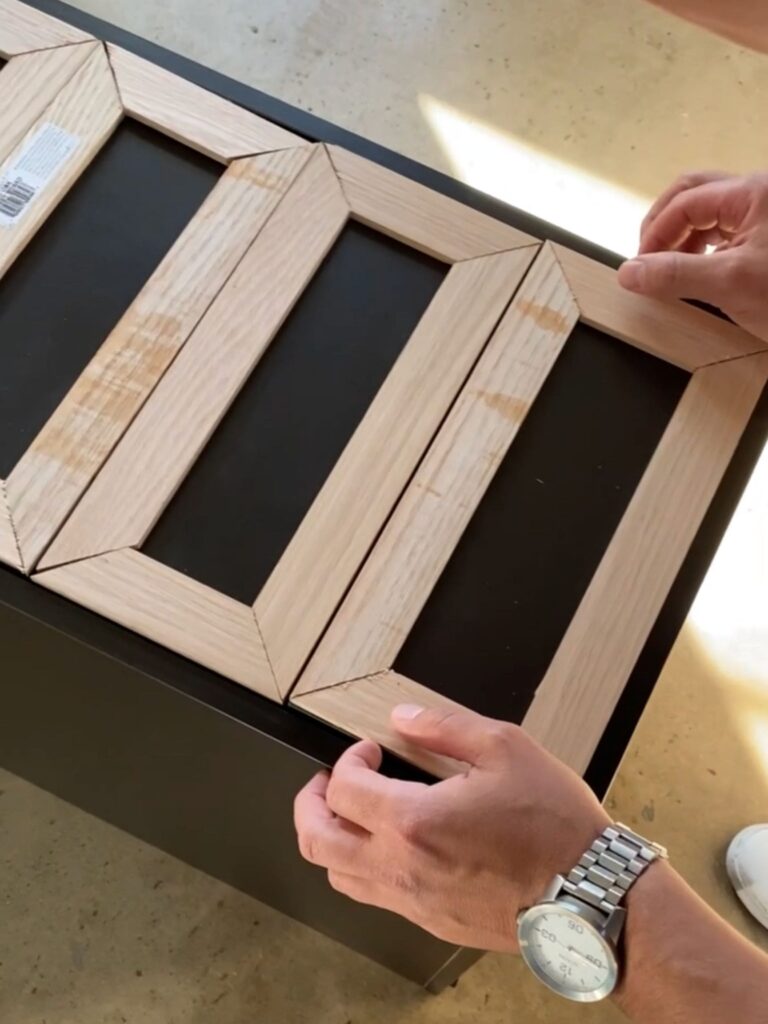
For this tutorial, you’ll want to use the hobby boards to create a trim on the front of each drawer. In order to create this outline effect, you’ll need to cut each piece of board at the desired length at a 45 degree angle, using a miter box or chop saw. The corners should meet at the 45 degree angle.
The IKEA Alex Drawers have two different sized drawers so be mindful when making your cuts not to mix up your boards. Once the pieces are cut, lay them out on the front of each drawer to see if everything fits well or if you need to make additional cuts/adjustments.
Step 2: Sand The Drawers
Now that the wood trim is cut to size, begin sanding the factory finish off of the drawers using a high-grit sandpaper (80 grit). Depending on what color you want to paint your drawers will determine how much sanding needs to be done. For example, I planned on painting ours black so I didn’t need to strip it completely. If you plan to paint it a lighter color, I would recommend getting as much of the top coat off as possible.
Step 3: Glue The Wood Pieces Into Place
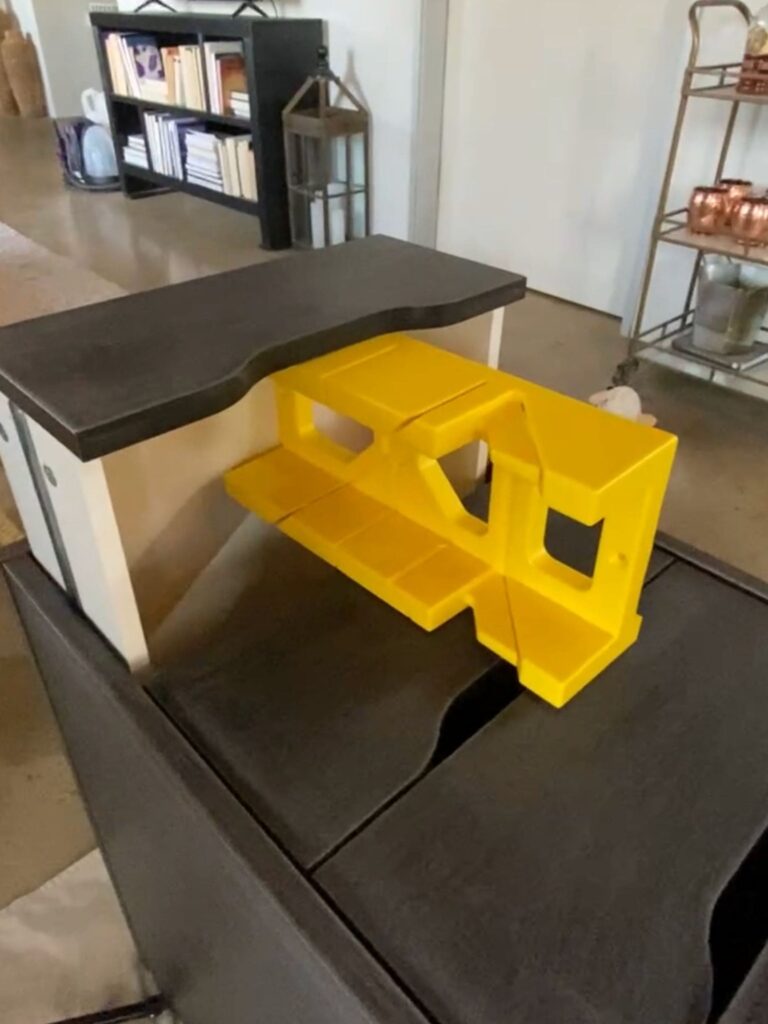
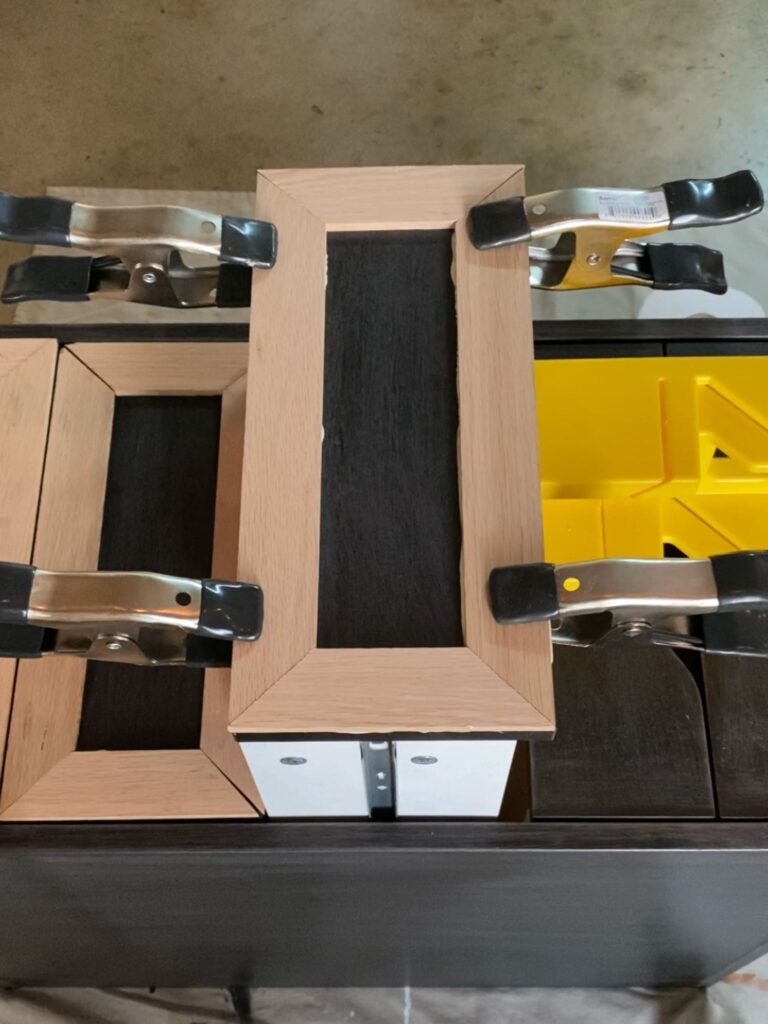
Once you’ve finished sanding, glue the wood trim into place using any wood glue you like. I use Gorilla Wood Glue. Use metal clamps to hold the trim in place. I recommend applying the trim to one drawer at a time and letting it dry completely before moving to the next drawer. Use the miter box to keep the drawer propped open so the clamps have room and stay in place. Be sure the trim is flush with the edges of the drawer and pieces fit nicely together. Once the trim is secure, use a paper towel to clean up the edges and let it dry completely, about 1 hour. Continue until all drawers are completed.
Step 4: Prep Your Hardware
This step is completely optional and primarily for anyone who is planning to update existing hardware. If you bought brand new hardware, feel free to skip this step. If you’re updating your hardware, now is a good time to update them to whatever finish you’re happy with and let them dry completely. I spay painted some hardware gold using Rust-Oleum Metallic Gold spray paint.
Step 5: Caulk The Edges & Add Wood Filler
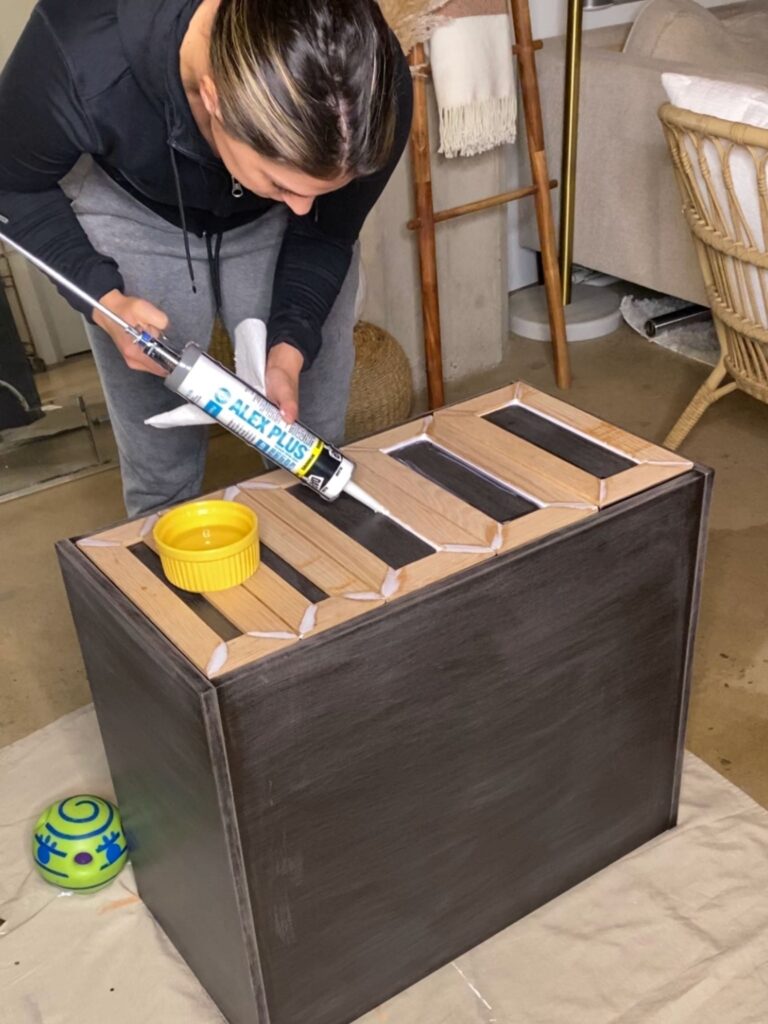
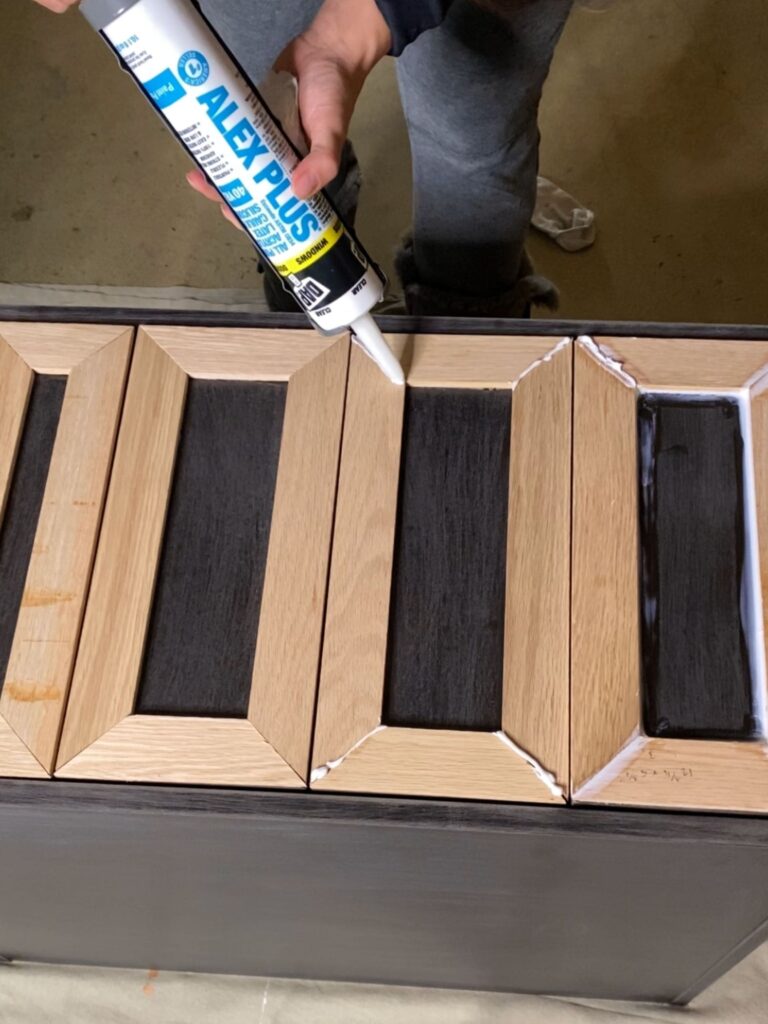
Once the trim is completely dry, you’ll want to seal the gaps between the wood and the face of the drawer with caulk. Add a single line of caulk on the inside rim of the trim. Run a damp finger or coin across the caulk to smooth it out. Remove any excess caulk and make sure it looks smooth.
You can either use caulk or wood filler to fill in the corners where the wood trim meets and fill any gaps. Let this dry completely, about 1-2 hours.
Step 6: Sand & Prep For Paint
Sand the entire drawer, as well as the front of the wood trim, using a fine-grit sandpaper (220 grit). This will smooth out any rough areas and even out the wood filler that was added to the front of the trim.
Add your primer (if you’re using separate from paint) and let it dry completely.
Step 7: Paint
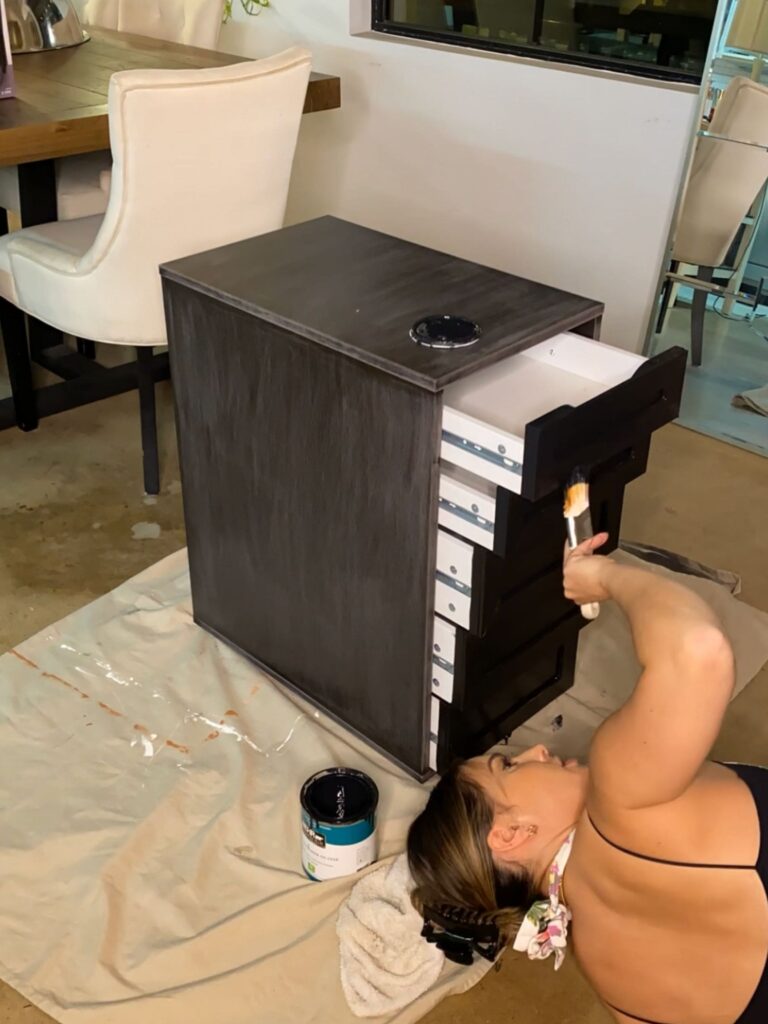
After the primer has dried, it’s time to paint! If you’re using a paint/prime combo, skip the primer step and dive right in! I would recommend a satin finish for this project, but I wanted to use what I had on hand so I ended up using paint with a semi-gloss finish. In the end, it will be totally up to you but I recommend using a finish that matches your desk or anything close to how you plan to use the desk. Once your first coat is dry, add the second coat.
Step 8: Attach Hardware
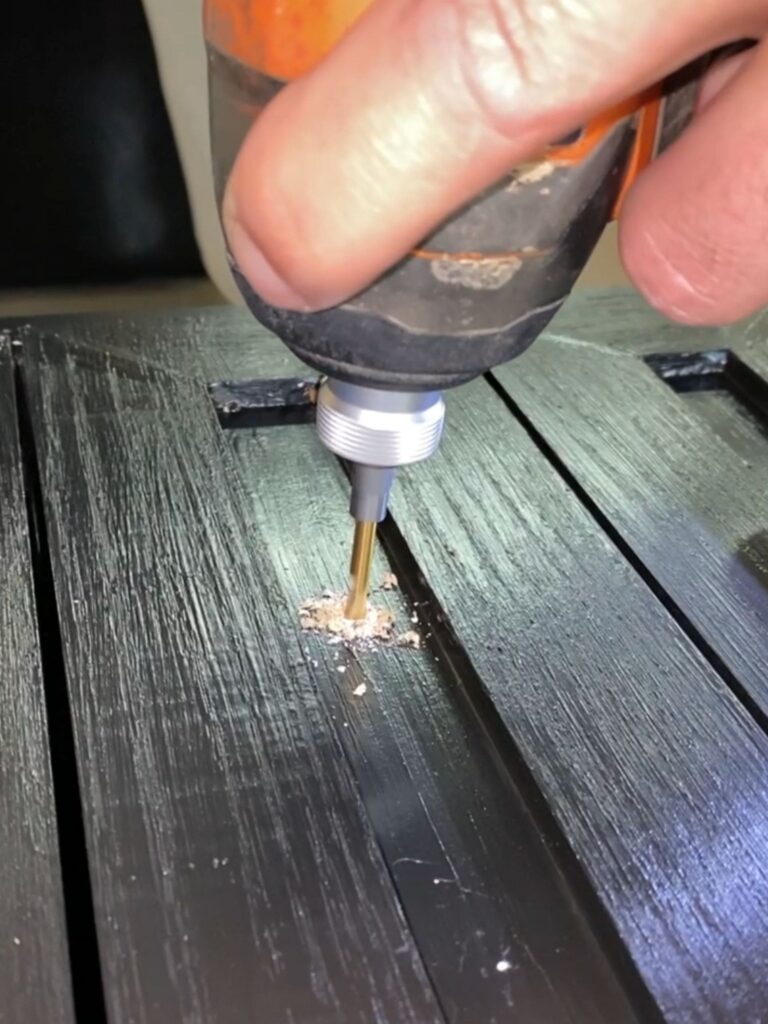
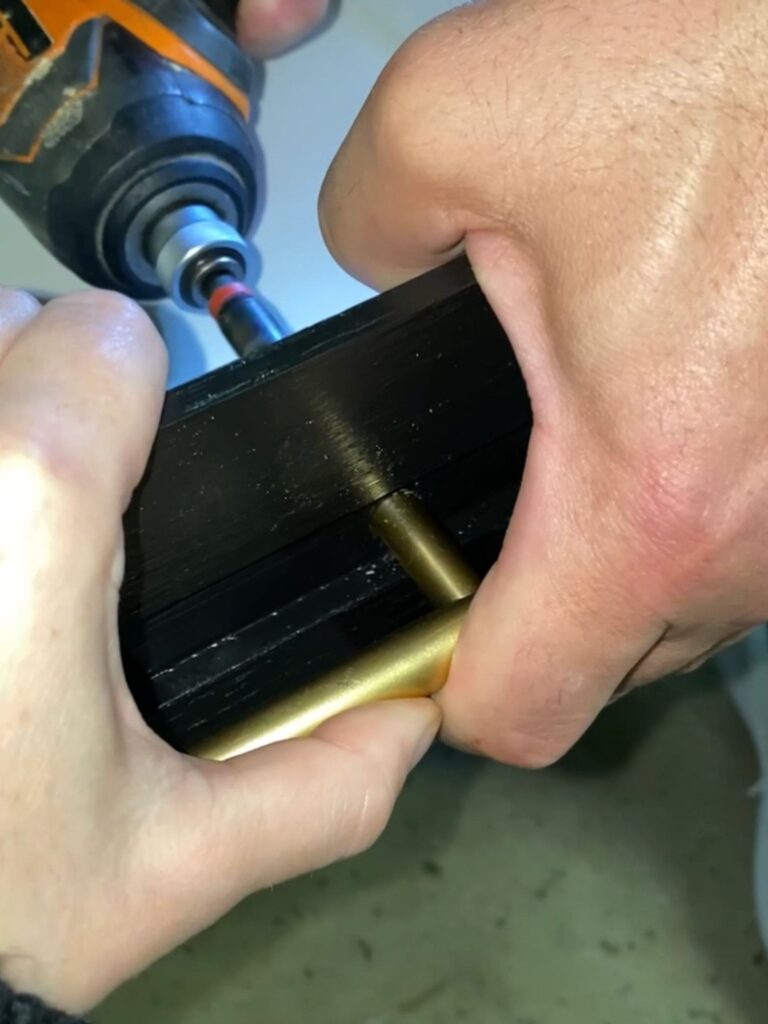
Depending on the hardware you plan to use, the drill bit size will vary. Place your hardware on the area of the drawer you’d like it to be and mark where you plan to make you holes. Drill the holes and attach your hardware.
IKEA Alex Drawers DIY Video
Here is a step-by-step video on everything I described in the tutorial above! I used this IKEA Alex Drawer DIY to spruce up our existing drawers. I ended up buying a new desk top from Amazon and the new look of the drawers went perfectly with it. I was able to snag the desk on sale for only $90 but full price is still under $140!